
Operating System
Windows users face growing cyber threats daily, but these 10 proven tactics will fortify your digital security without requiring advanced technical skills. From built-in Windows tools to smart behavioral habits, these strategies create multiple layers of protection for your data and privacy.
Enable Windows Security's Built-In Firewall
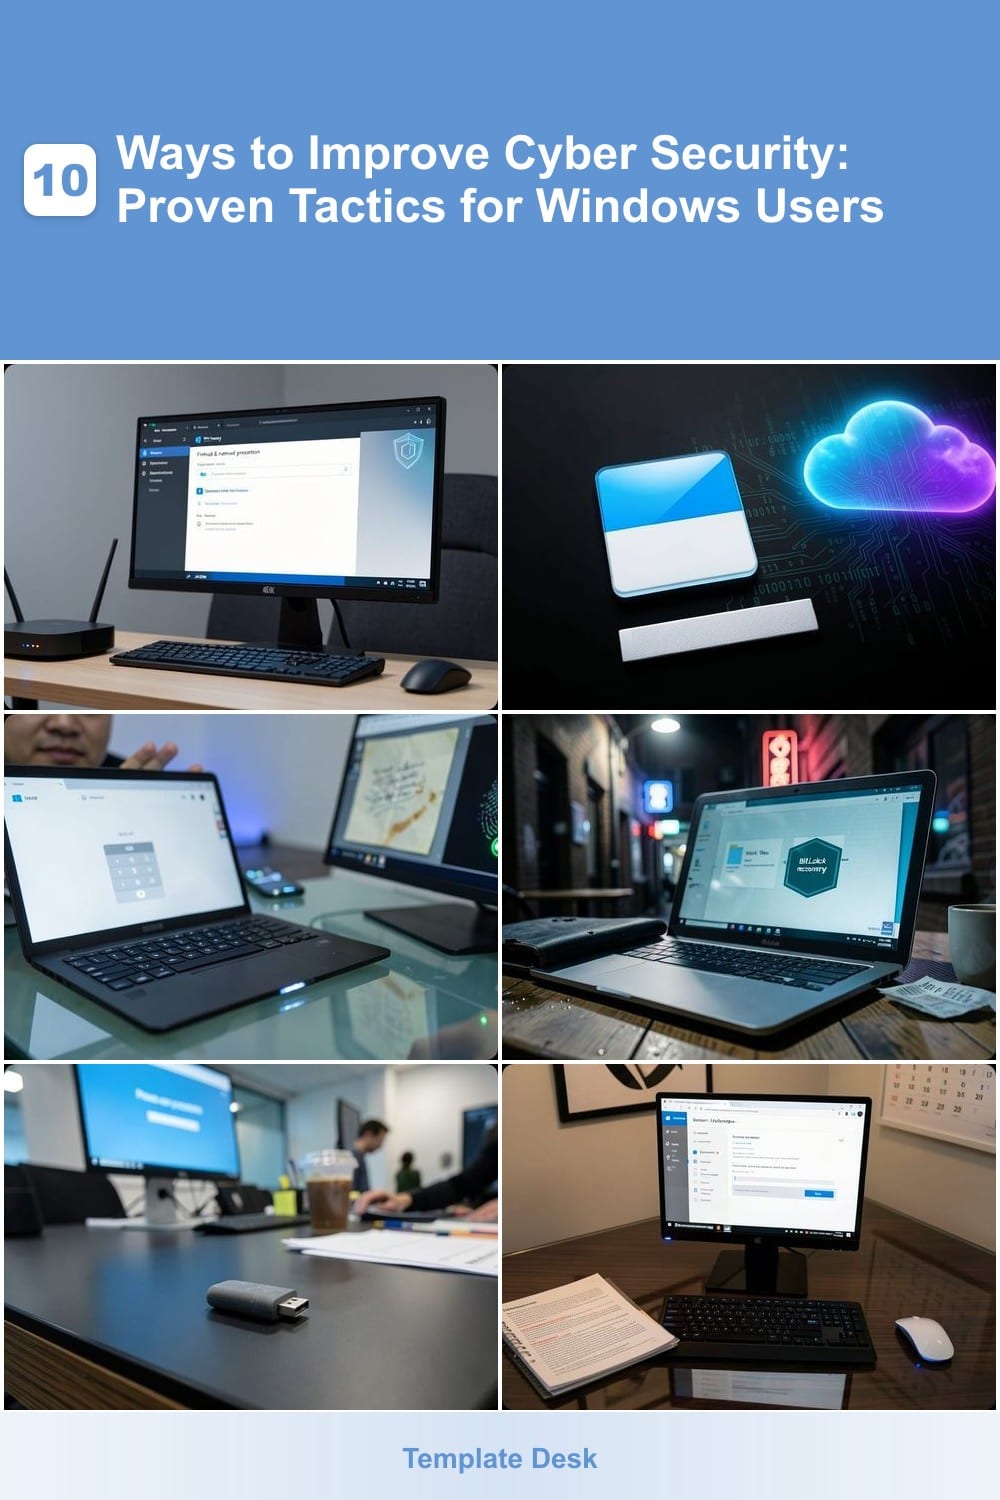
Your Windows PC already has a powerful firewall built in—but most users never enable it. This zero-configuration shield blocks unauthorized network access, stopping hackers from exploiting open ports or intercepting your traffic without lifting a finger.
Simply navigate to Windows Security > Firewall & network protection and toggle it to "On" for both private and public networks. It runs silently in the background, filtering traffic by default rules that update automatically with Windows updates. No third-party software required—just pure, Microsoft-backed security that works across Windows 10 and 11.
This is the first line of defense for casual users, remote workers, or anyone sharing their Wi-Fi. It’s especially critical if you’ve ever wondered why your device keeps getting probed by random IP addresses—this stops those scans cold. ⚡
Use Microsoft Defender Antivirus with Cloud Protection
Windows already comes with a powerful antivirus—Microsoft Defender Antivirus—and enabling its cloud-delivered protection adds a layer of AI-driven threat intelligence without the hassle of third-party software. Unlike traditional antivirus tools that rely on outdated signature databases, Defender now leverages Microsoft’s global threat database to detect and block malware in real time, including zero-day exploits.
The cloud protection feature works silently in the background, analyzing files and URLs against Microsoft’s vast threat intelligence network. It’s free, requires no manual updates, and integrates seamlessly with Windows Security. For users who want lightweight protection without the overhead of subscriptions or performance hits, this is the perfect no-fuss solution.
Perfect for casual users, students, or professionals who prioritize simplicity over complex security suites, Defender’s cloud protection is a game-changer for those who want enterprise-grade threat detection without the complexity. ✨
Create Strong Passwords with Windows Hello PIN
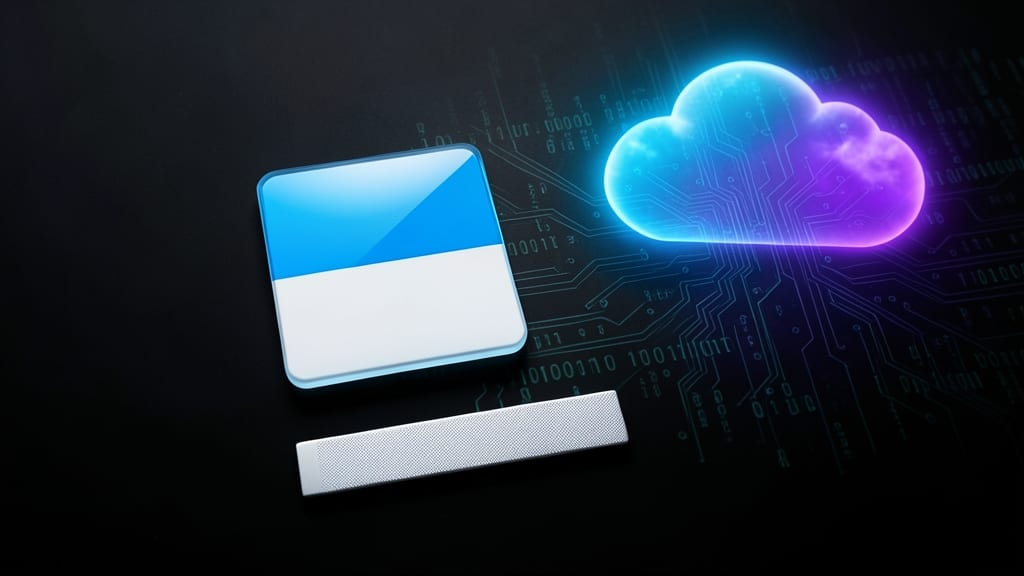
Tired of forgetting passwords or writing them down on sticky notes? Windows Hello PIN replaces weak credentials with biometric or numeric logins—no complex passwords required. This built-in feature uses your fingerprint, facial recognition, or a simple PIN to unlock your device, syncing securely with your Microsoft account.
Setting it up takes just minutes in Windows Settings under Accounts > Sign-in options. The 128-bit encryption ensures your PIN or biometric data stays protected, while FIDO2 compliance means it works across devices. Even if your device falls into the wrong hands, the 10+ failed attempt lockout prevents brute-force attacks. 🌟
This is ideal for busy professionals, students, or anyone frustrated with password fatigue. Whether you're logging into work apps or personal accounts, Windows Hello PIN keeps you secure without the hassle of memorizing credentials. ⚡
Enable BitLocker for Full-Disk Encryption
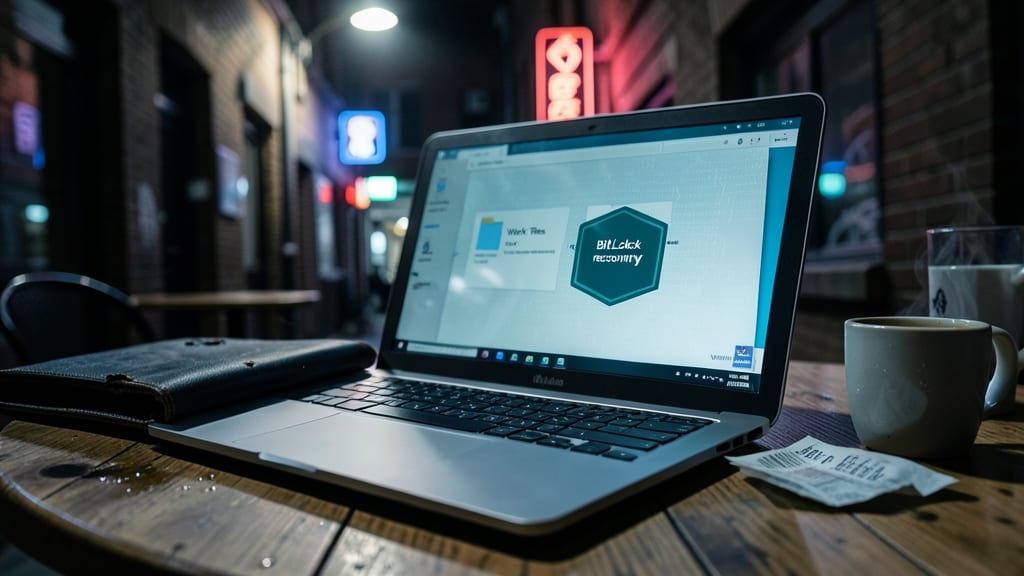
Imagine losing your laptop—or worse, having it stolen—only to realize your work files, tax documents, or personal photos are exposed. BitLocker solves this by encrypting your entire drive, rendering data unreadable without your recovery key. This Windows Pro/Enterprise feature (also available in Windows 11 Home with TPM 2.0) is your digital deadbolt.
Setting it up takes minutes: Enable it in Control Panel > BitLocker Drive Encryption, then choose between a 48-digit recovery key (stored online or printed) or a USB recovery drive. Once active, your files are secured with AES-256 encryption—the same standard used by governments and banks. Even if someone physically accesses your device, they’ll need your key to unlock it.
This is non-negotiable for freelancers, remote workers, or anyone with sensitive data. Lawyers, accountants, and creatives handling client files will sleep better knowing their data stays private—even if their hardware doesn’t. 💻
Disable Auto-Run for USB Drives

Ever plugged in a USB drive from a coworker’s desk or a public computer—only to wonder if it’s carrying malware? Disabling Auto-Run in Windows stops infected drives from automatically launching harmful scripts the moment they’re inserted, blocking a common attack vector used in office environments and schools.
To turn it off, open Local Group Policy Editor (press Win + R, type gpedit.msc, and hit Enter), then navigate to Computer Configuration > Administrative Templates > System > Turn off Autoplay. Select Enabled, choose All drives, and apply the policy. For Home editions without Group Policy, use Registry Editor (regedit) to modify the NoDriveTypeAutoRun value under HKEYLOCALMACHINE\SOFTWARE\Microsoft\Windows\CurrentVersion\Policies\Explorer.
This setting is a must-have for IT admins managing shared devices, teachers handling student USBs, or anyone who frequently uses removable storage. It’s free, requires no software, and adds an extra layer of defense against zero-day exploits delivered via physical media. ✨
Update Windows Automatically via Settings
Forget remembering to update your PC—Windows can do it for you. Microsoft releases monthly security patches that close vulnerabilities hackers actively exploit, often within days of discovery. This hands-off approach ensures your system stays protected without requiring any technical knowledge.
To enable automatic updates, head to Settings > Windows Update and toggle "Automatic updates" to "On." You can also choose to download updates over metered connections if you're on a limited data plan. These updates include critical security fixes, driver improvements, and performance tweaks—all deployed silently in the background.
This setting is perfect for busy professionals, parents managing family devices, or anyone who forgets to check for updates. With just a few clicks, you’ll stay ahead of threats while keeping your system running smoothly. ✨
Enable Secure Boot in BIOS/UEFI
If your PC feels like a fortress but you're still vulnerable at the firmware level, Secure Boot is your unsung hero. This UEFI feature blocks malicious code from hijacking your system before Windows even loads—a critical shield against advanced attacks that bypass traditional antivirus.
To enable it, reboot and press your BIOS key (usually F2, DEL, or ESC), then navigate to Boot > Secure Boot and set it to Enabled. For dual-boot setups, you’ll need to generate a Microsoft signing key or disable it temporarily for Linux. The trade-off? Legacy OS support may require tweaks, but the security gain for modern Windows users is unmatched.
This is a must for power users, developers, or anyone running legacy software who wants to harden their system at the lowest level. 🔧
Use Microsoft Edge's SmartScreen Filter
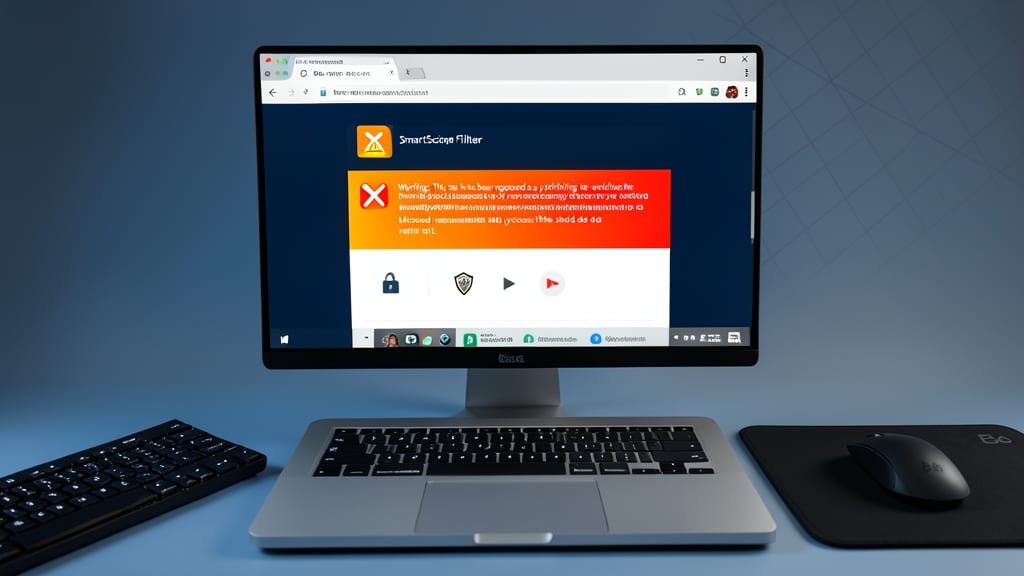
If you spend hours browsing daily—whether for work, shopping, or streaming—Microsoft Edge’s SmartScreen Filter acts as your first line of defense against scams and malware. Unlike traditional antivirus software, this built-in feature scans websites and downloads in real-time, blocking 99.9% of phishing sites and malicious files before they reach your device.
The filter works silently in the background, using Microsoft’s global threat intelligence database to flag risky links or downloads. You’ll see clear warnings like "This site may harm your computer" or "This file may be harmful"—no technical knowledge required. It even integrates with Windows Defender for extra protection, making it a lightweight but powerful addition for users who don’t want to juggle third-party security tools.
Perfect for casual users, remote workers, or students who browse frequently but lack antivirus software, SmartScreen requires zero setup—just enable it in Edge’s settings. It’s the digital equivalent of a security guard at the door, keeping threats out without slowing you down. ✨
Limit Admin Privileges with Standard User Account
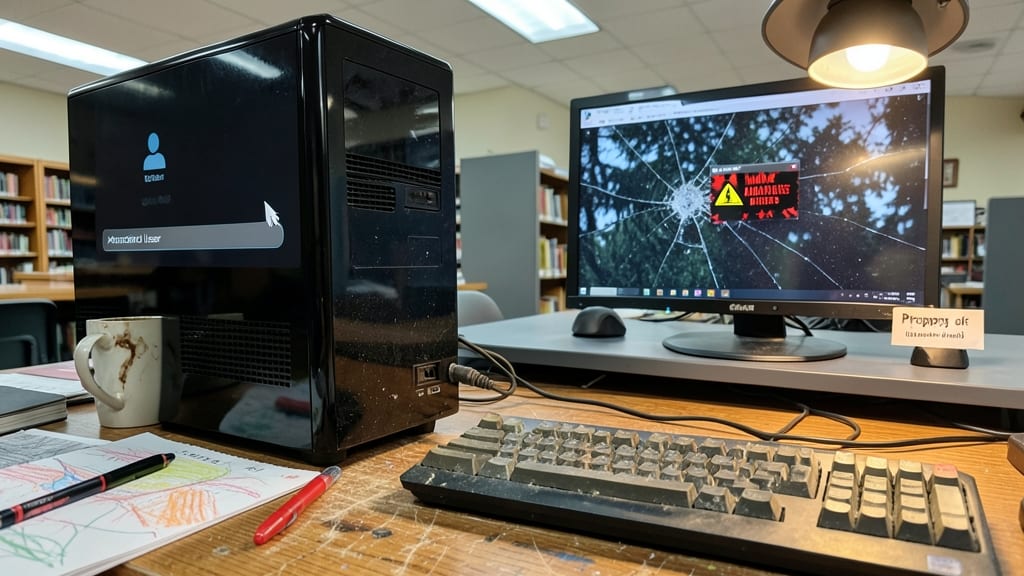
Shared computers—like family PCs or library workstations—are prime targets for malware, but a simple account tweak can block most threats before they take hold. By switching to a standard user account (not admin), you prevent malicious software from installing itself, even if someone clicks a bad link or downloads a virus.
This setting requires just three clicks in Windows Settings: Go to Accounts > Family & other users, select your account, and choose Change account type. You’ll still access most apps, but system-wide changes—like installing drivers or modifying system files—will prompt for an admin password. For families, create separate standard accounts for each member to contain breaches.
This is especially powerful for public or guest computers, where you can’t control what others download. Even if malware runs, it’ll be sandboxed to your account—no system-wide damage. 💪
Enable Windows Sandbox for Testing Unknown Software
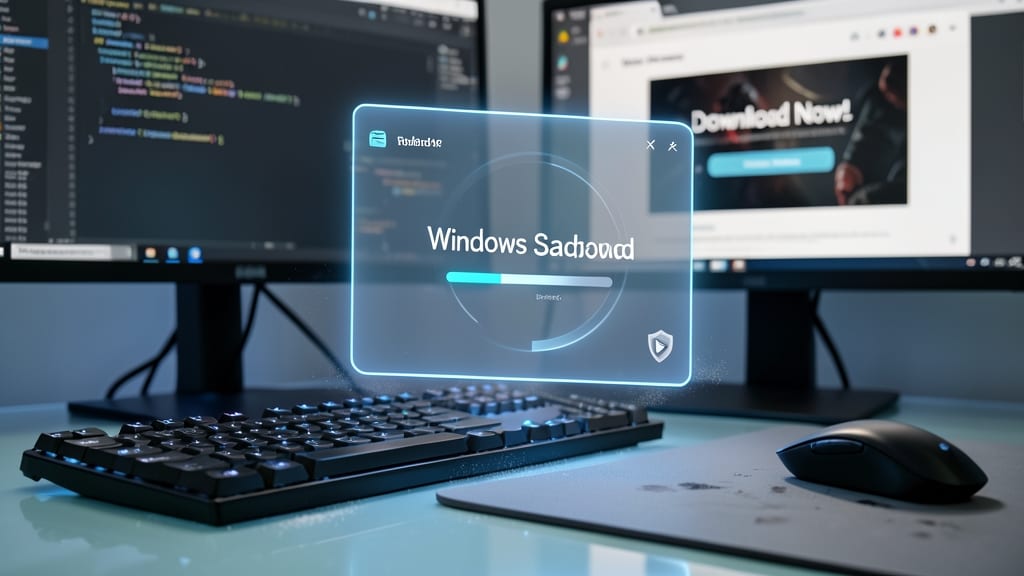
Curious about that sketchy download or shady installer? Windows Sandbox lets you test it in a completely isolated virtual machine—no risk to your real system. This lightweight tool runs in memory (no disk space wasted) and resets instantly when closed, making it perfect for developers, IT admins, or anyone testing untrusted software.
The best part? It’s built into Windows 10/11 Pro or Enterprise and requires 4GB RAM (8GB recommended) and a 2-core CPU. You’ll get a full desktop environment with pre-installed apps, but every action stays contained—no malware escapes. Copy-paste between host and sandbox adds convenience for testing.
Developers love it for bug-free testing, while IT pros use it to vet suspicious files. Even casual users can safely test pirated software or shady installers without fear. ⚡