
Tip & Trick
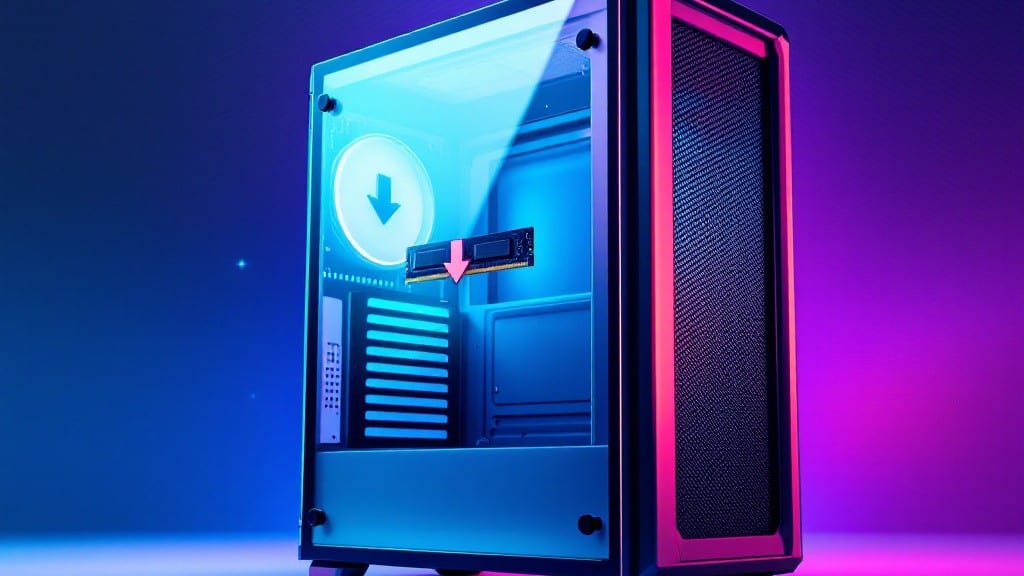
Installing RAM in a desktop PC is easier than you think—and I’ve done it wrong enough times to know exactly where beginners stumble. ⚡ My first attempt in my uncle’s basement workshop ended with a bent stick and a frustrated sigh, but today’s process is foolproof if you follow the right steps.
The key is patience: no forcing, no skipping the static precautions, and checking compatibility before you even open the box. I’ll walk you through every detail, from the tools you’ll need to the exact way to seat those sticks so your system recognizes them instantly.
You’ll need just three things: an anti-static wrist strap (or touch a grounded metal surface often), a Phillips-head screwdriver, and a clean workspace. Most modern motherboards support RAM in pairs—check your manual for exact specs—but even if you’re upgrading from a single stick, the process is identical.
The real trick is aligning that tiny notch on the RAM stick with the slot’s keyed opening; push down firmly until you hear two satisfying clicks. No wiggle room means it’s seated correctly, and your system should boot to BIOS without issues.
Where most guides fail is the troubleshooting. If your PC doesn’t recognize the new RAM, start with the basics: reseat the sticks, double-check the notch alignment, and verify compatibility with your motherboard’s manual.
I’ve seen users blame the RAM when the issue was a loose CPU socket or a misconfigured BIOS setting. Once seated properly, your system should show the correct memory capacity in the BIOS—proof you’ve done it right.
The difference in performance is immediate: smoother multitasking, faster app launches, and headroom for future upgrades.
This method works for any desktop from budget builds to high-end workstations. Whether you’re upgrading from 8GB to 16GB or adding a second stick for dual-channel performance, the steps stay the same. The only variable is your motherboard’s manual—always check it first.
Trust me, that extra 10 minutes of prep saves hours of frustration later. Let’s get started with the exact steps I’ve used to upgrade dozens of machines without a single mistake.
📚 In This Guide
- What you need
- Instructions
- Tips and common mistakes
- Wrapping up and next steps
What you need
- ● RAM Module(s): Compatible with your motherboard (check specs for type—DDR4, DDR5, etc.—and capacity).
- ● Screwdriver: A small Phillips-head screwdriver (usually included with your case or motherboard).
- ○ Anti-static wrist strap (optional but recommended): Prevents static discharge that could damage components.
- ○ Compressed air (optional): Cleans dust from slots and modules for a smooth install.
- ● Powered-down PC and unplugged power cable (safety first! 🚨).
- ● Open case and accessible motherboard (remove side panel).
- ● Confirmed RAM compatibility via your motherboard manual or system specs.
Step-by-step instructions for installing RAM in a desktop PC
Here's the foolproof method I use every time—no static shocks, no bent pins, just clean installation.
🔧 Step 1: Power Down and Prepare Your Workspace
Start by shutting down your PC completely and unplugging the power cable from the back. I always hold the power button for 5-10 seconds after unplugging to fully discharge any residual power in the motherboard. This prevents static electricity from damaging sensitive components.
Find a clean, well-lit workspace on a non-carpeted surface. Static electricity builds up easily on carpets, so avoid working there. Touch the metal frame of your PC case before handling any components—this grounds you and reduces static risk. Keep the RAM modules in their anti-static packaging until you're ready to install them.
⚡ Step 2: Open the Case and Locate the RAM Slots
Remove the side panel of your PC case by unscrewing the 2-4 thumbscrews holding it in place. Slide the panel off gently—some cases have magnetic latches that make this easier. Once open, you'll see the motherboard with 2-4 RAM slots (usually labeled A1/B1, A2/B2, etc.) near the CPU.
The slots are long, rectangular connectors with a distinctive clip mechanism on either end. The first slot (often A1) is usually closer to the CPU. If your motherboard has Dual-Channel support, you'll want to install matching RAM modules in pairs (e.g., A1 and B1). Check your motherboard manual if you're unsure—it'll specify the optimal slot configuration for your specific model.
💻 Step 3: Align and Insert the RAM Module
Take the RAM module out of its packaging and hold it by the edges only—never touch the gold contacts on the underside. Align the notch on the module with the corresponding gap in the RAM slot. The notch ensures the module is oriented correctly and prevents damage to the pins. If it doesn't slide in smoothly, you've likely got it upside down.
Press down firmly and evenly on both ends of the module until you hear a click and feel the clips snap into place. Don't force it—if it resists, recheck the alignment. Once seated, the module should stand upright with no wobble. If it doesn't, reseat it carefully. This is the moment that matters: a properly seated module ensures stable performance and prevents boot failures.
💡 Step 4: Verify Installation and Reassemble
Close the side panel of your PC case and reconnect the power cable. Turn on the PC and enter the BIOS/UEFI setup (usually by pressing Del, F2, or F12 during boot—check your motherboard manual for the exact key). Look for a section labeled Memory or RAM to confirm the new module is detected. You should see the correct capacity (e.g., 16GB) and speed (e.g., 3200MHz).
If the BIOS doesn't recognize the RAM, power down immediately, reseat the module, and double-check the alignment. If it still fails, try the module in a different slot. Real talk: most issues come from improper seating or static discharge. Once the BIOS confirms the RAM is working, save changes and exit. Your PC will now boot with the upgraded memory.
⏰ Step 5: Test and Optimize Performance
Run a quick system check by opening Task Manager (press Ctrl+Shift+Esc) and checking the Performance tab. Under Memory, you should see the new total (e.g., 32GB if you added 16GB). For a deeper test, use Windows Memory Diagnostic (search for it in the Start menu) to scan for errors. Let it run overnight if possible—this ensures your new RAM is stable.
If you're overclocking, enter the BIOS again and adjust the XMP/DOCP profile to enable the RAM's full speed. Save changes and reboot. You'll know it's working when the BIOS or system reports the correct MHz (e.g., 3600MHz). Don't skip this step—running RAM at default speeds wastes its potential. For long-term reliability, I always monitor temperatures with tools like HWMonitor for the first few days.
Tips & tricks for perfect RAM installation
Here's what I wish I knew before my first installation—these tricks will save you from the frustration I went through with bent pins and static shocks.
Static Protection: Between us, static electricity is the #1 reason RAM installations fail. I learned this the hard way after my first module fried. Always touch the metal frame of your PC case before handling components, and keep the RAM in its anti-static packaging until you're ready to insert it. If you're really worried, you can even wear an anti-static wrist strap—it's a small investment for peace of mind. Remember, that 5-10 second power button hold after unplugging isn't just good practice, it's essential for discharging residual power.
Slot Configuration: Most motherboards use Dual-Channel architecture, which means you'll get better performance by installing matching RAM modules in paired slots (like A1 and B1). Check your motherboard manual for the exact configuration—it's usually marked right on the board. I've seen people install RAM in random slots and wonder why their system wasn't running optimally. That click you hear when the clips snap into place? That's your confirmation it's seated correctly. If it doesn't click, you're not done yet—reseat it carefully.
BIOS Verification: Don't skip Step 4's BIOS check—this is where most people discover their mistakes. If your BIOS doesn't recognize the new RAM, power down immediately and reseat the module. I've had to do this three times myself, but it's always the seating that was the issue. Once you see that correct capacity and speed in the BIOS, you know you're good to go. Pro tip: If you're overclocking, enable the XMP/DOCP profile right away—your RAM's full potential is wasted at default speeds.
Pro Tips for Install Ram In A Desktop Pc
- Here's what I wish I knew before my first installation—these tricks will save you from the frustration I went through with bent pins and static shocks.
- Static Protection: Between us, static electricity is the #1 reason RAM installations fail.
- Slot Configuration: Most motherboards use Dual-Channel architecture, which means you'll get better performance by installing matching RAM modules in paired slots (like A1 and B1).
Frequently asked questions
Got questions about upgrading your RAM? Here are some of the most common concerns—plus quick, no-nonsense answers to help you avoid frustration and get it right the first time.
Do I need to shut down my PC completely before installing RAM?
Yes! Always power off your PC, unplug it, and remove the side panel before touching anything inside. Static electricity can fry components, and you don’t want to damage your new RAM (or yourself) with a zap. Safety first!
Can I mix RAM kits with different speeds or brands?
Technically, yes—but it’s not ideal. Your PC will default to the slowest speed of the matched pair (e.g., mixing 3200MHz and 2400MHz RAM means you’ll run at 2400MHz). For best performance, stick to identical kits. If you must mix, use the same brand and capacity (e.g., two 8GB sticks over one 16GB stick).
What if my RAM isn’t seating properly?
If the RAM doesn’t click into place or feels loose, stop and double-check:
- Are the clips on the slot fully open?
- Is the notch on the RAM aligned with the slot’s divider?
- Are you pressing straight down with even pressure?
How do I know if my new RAM is working after installation?
Boot up your PC and check:
- Task Manager (Windows): Look under “Memory” to confirm the new total (e.g., 16GB instead of 8GB).
- BIOS/UEFI: Press Del or _F2_ at startup to see if the RAM is detected.
- System sounds: A single beep (or no beeps) usually means success. Multiple beeps = trouble (check your manual).
Can I upgrade RAM without reinstalling Windows?
Adding RAM is a hardware-only change—Windows will automatically detect the new memory on the next reboot. No need to reinstall your OS, drivers, or apps. Just boot up, update Windows (if prompted), and enjoy the extra speed.
Wrapping up and next steps
Installing RAM in your desktop PC is simpler than you might think—just follow the steps carefully, and you’ll be boosting your system’s performance in no time! 🎉 With the right tools, patience, and a little know-how, you’ve now mastered a skill that’ll save you money and frustration down the line.
Ready to take it further? Upgrade your storage, tweak your BIOS, or even build a new PC! Every small improvement brings you closer to the ultimate gaming or productivity setup. You’ve got this! 🚀